Reports
Reports allow you to track the performance of your devices and systems, identifying any issues or areas for improvement. This can help you optimize your processes or reduce downtime, leading to increased productivity and revenue. In addition, reports provide a comprehensive overview of your data, allowing you to easily share insights with team members and stakeholders.
Go to module
First off, make sure the Reports module is enabled for your Collactr environment. You can find all Collactr modules under the Modules section in the sidebar on the left.
This module is disabled by default. You can contact your Collactr Partner to have it enabled for you.
Add a new report
To get started with our Reports module, you can add a new report by pressing the Add report button. Start by giving your new report a name.
Next, choose one of our built-in templates, or create your own custom template to get the most out of you data (optional). Additionally, you can add an email schedule if you want to receive a .PDF version of your report in your inbox periodically.
You can also specify a date range (24 hours, 7 days, 30 days or custom) and data grouping options to smooth out your data.
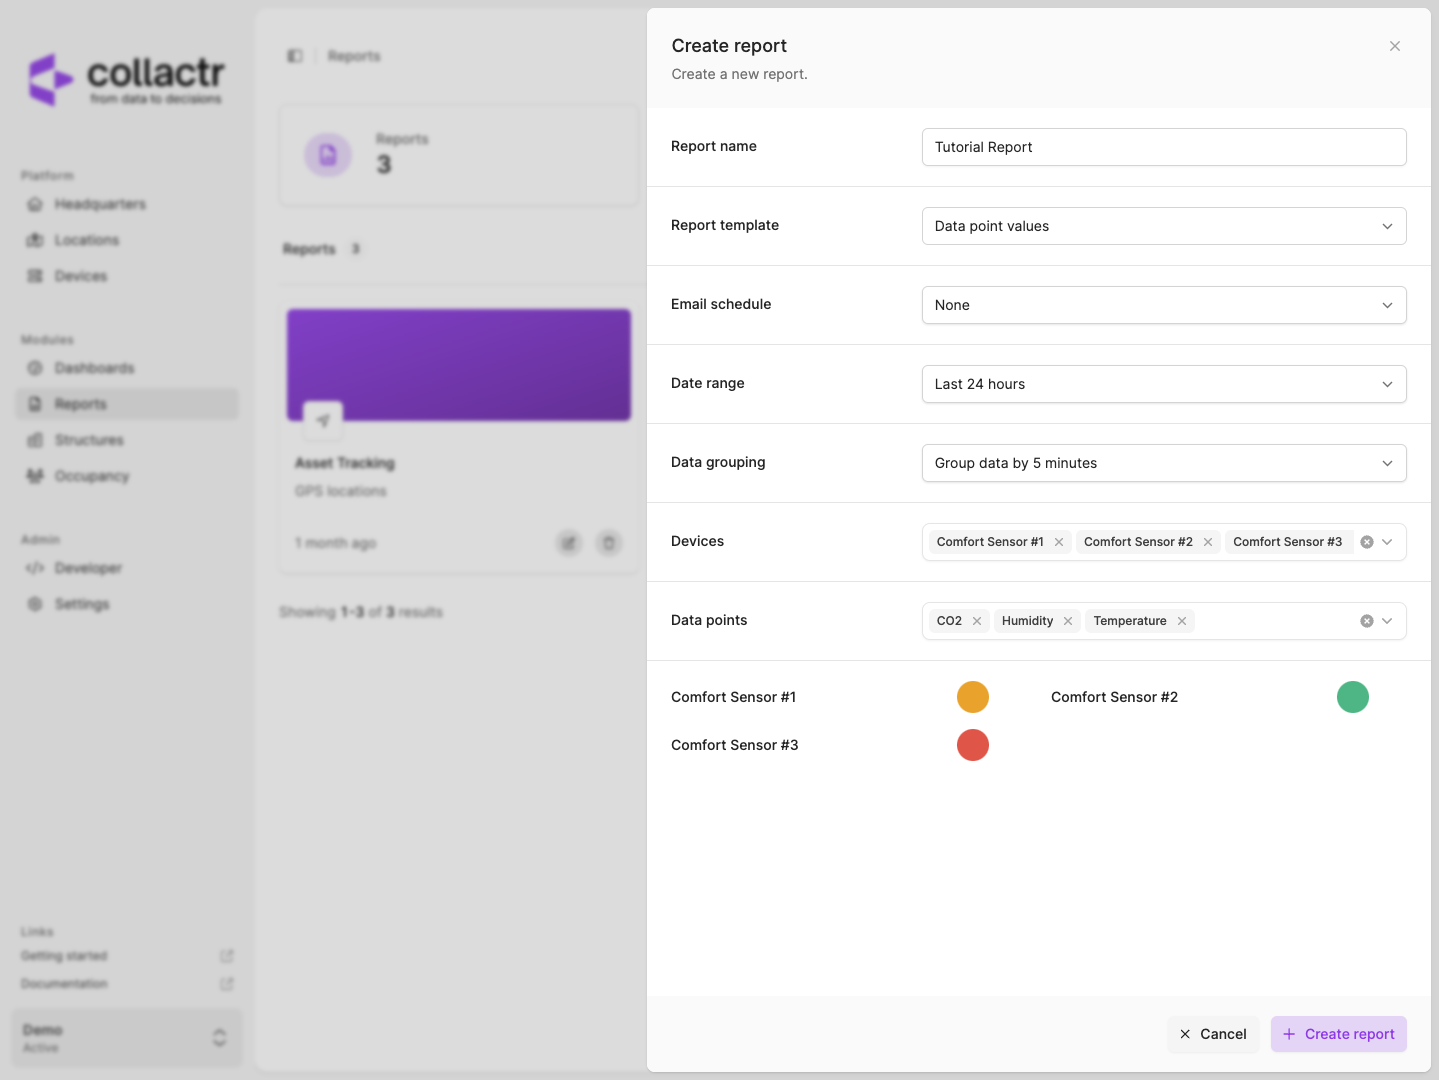
Finish your report by selecting your devices, give them a recognizable color, and press the Create report button.
Create your own report template
Reports templates are easily customisable and can be reused for multiple reports. You decide what you want to see in your template.
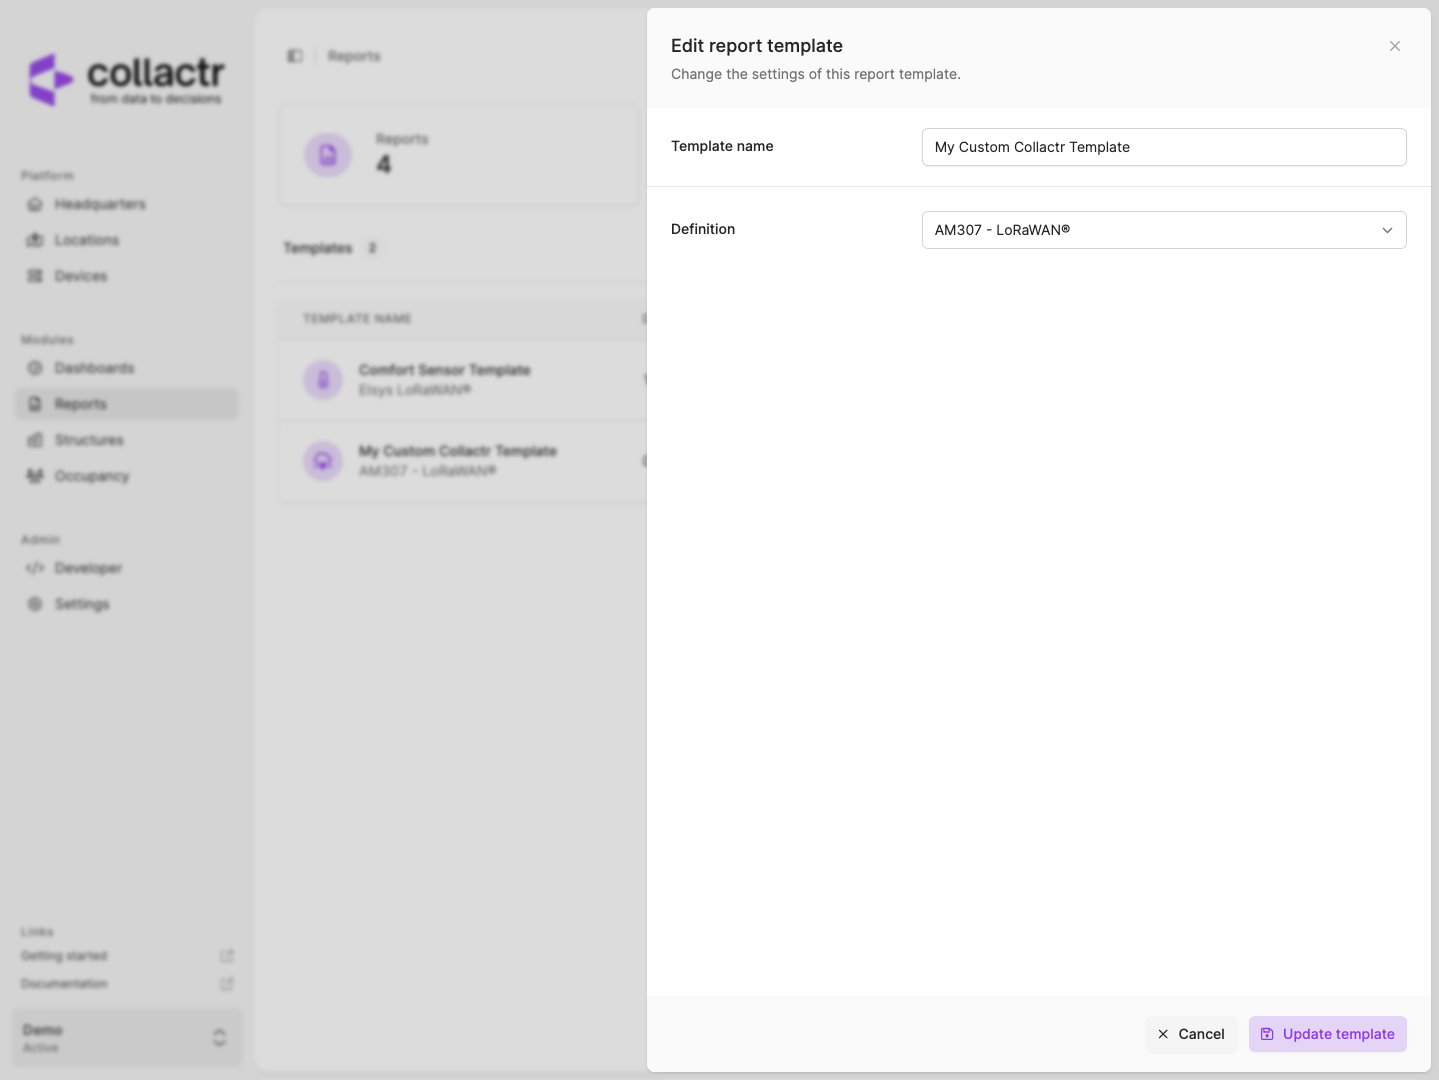
To add a new template, click on the Templates badge on the top of the page. Press the Add template button to bring up the slideover, enter a name for your template and select the device definition for which you want to create a template.
When you click on your new template, you will be met with a blank canvas on the left and a list of widgets on the right. Simply drag and drop the widgets on the canvas to add them and hover over the placed widgets to edit their settings.

When you are done building your template, press the Update button in the top right of the page. To use your template, edit or create a report and select your template under the Report template section.
Add an email schedule
If you want to periodically receive a .PDF version of your report(s) via email, you can create an Email Schedule to do so.
To add a new schedule, click on the Email Schedules badge on the top of the page. Press the Add schedule button to bring up the slideover.
To control when you want to receive your report(s), select a time and a schedule type (daily, weekly, monthly). Next up, add the contact information for the people who should be receiving your report under Contacts.
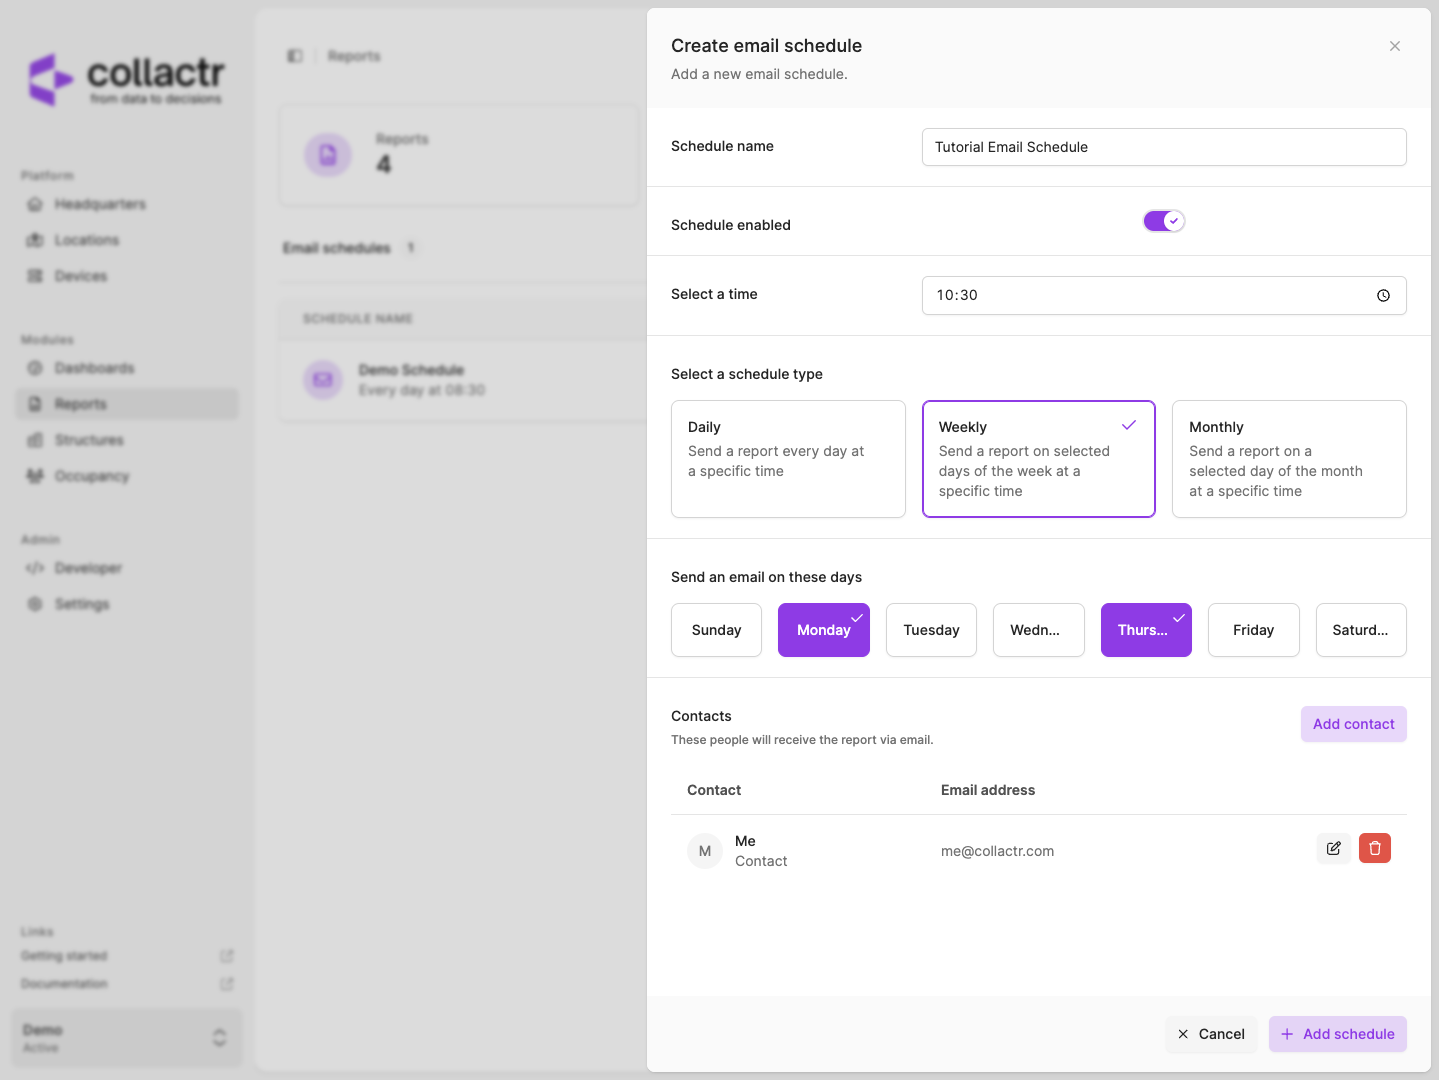
Save your email schedule by pressing the Add schedule button. To use your newly made schedule, edit or create a report and select your schedule under the Email schedule section.
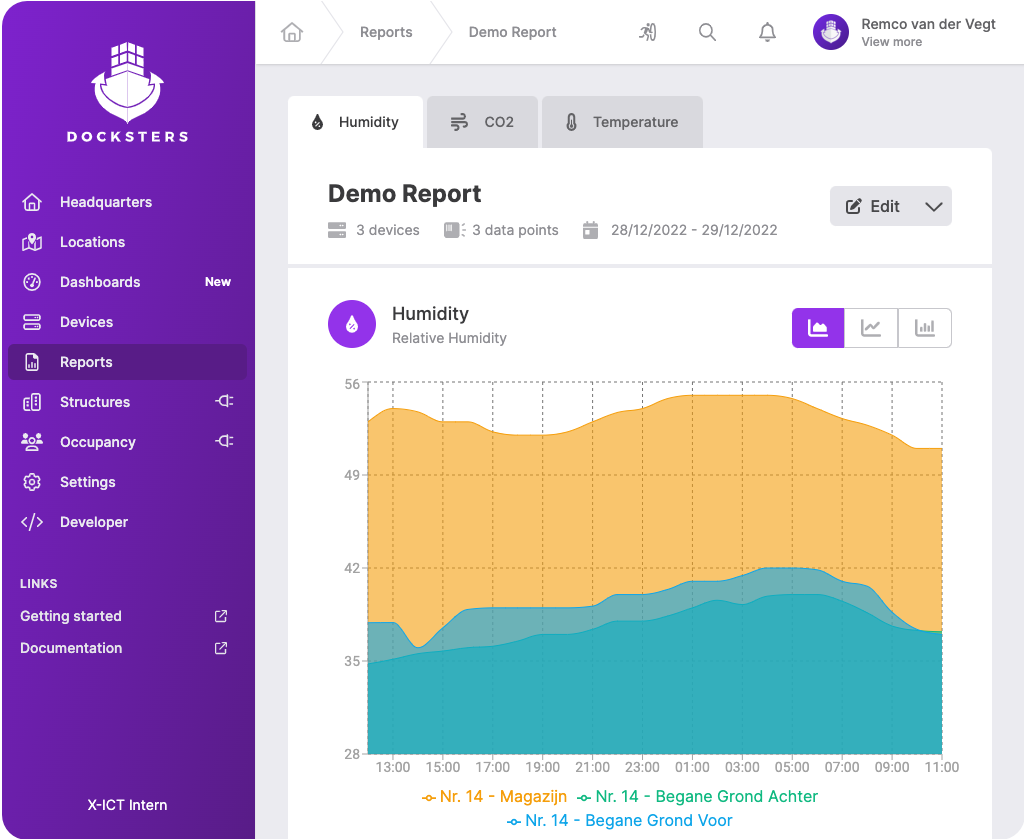
View your report
To view your new report, simply click on the report in the list. Within a few seconds, you will be presented with your own custom report! Using the buttons above the report, you can view it in fullscreen, download it's data to a .CSV file, print/download the report or edit your report.
If you have any questions about the Reports module or this tutorial, please contact us.